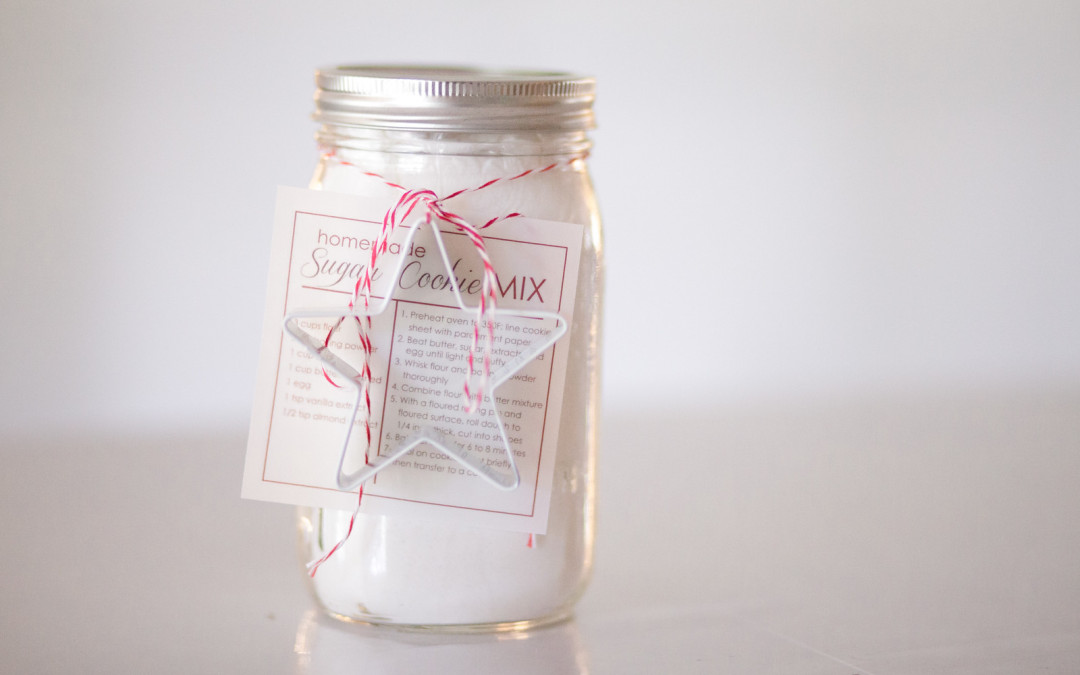
Matt and I love to create a homemade gift for our family members each year, but I have been away at school during the week and so busy that I did not think we would be successful. But I was inspired by a gift they sell at Disney – a Mickey gingerbread kit, complete with Mickey cookie cutter. The gift inspired me to create a sugar cookie mix in a jar with an attached cookie cutter. We quickly got to work trying to find a recipe that would be successful. We found an excellent Sugar Cookie recipe that would work well as a pre-made mix and we got to work. We even got to sample the resulting sugar cookies this weekend and THEY ARE GOOD. You can find the details on the cookies when we pose the full sugar cookie and icing recipe tomorrow.
One thing to note with cookie baking is that there are a few different methods for making cookies. One is the creaming method, which involves creaming softened butter, sugar, and eggs together before combining with the dry ingredients. This is often used to aerate the butter, creating a lighter cookie. Another method is to add the butter and eggs to the pre-mixed dry ingredient, similar to the method you use with a prepared cookie mix you purchase from the store. Cookie mix in a jar lends itself to the second method, so I went back and forth about which method I prefer and how to package the cookies. If I mixed the flour, baking soda, and sugar together, it would be easy to package and easy to mix, but the cookies may not come out as desired. The creaming method was the method indicated in the recipe and I wanted to make sure the cookies turned out well. In the end, I packaged the sugar in separate sandwich bags, placed the bags above the flour mixture, and included the extra step of creaming the butter and sugar together with the egg and extracts. You may wish to mix the flour and sugar together or leave them layered, so I am including tags for BOTH methods here and you can decide whether to mix the sugar in or include it separately.
These homemade sugar cookie mixes are easy to assemble. Mix 3 cups of flour with 2 teaspoons of baking soda. Carefully pour the mixture into a 1-quart canning jar (I find these in packages of 12 at the local grocery store). Gently tamp the flour mixture down until it is at the 3-cup mark (you will be surprised at just how high the flour will be when you first pour it in). Then pour 1 cup of sugar into a separate bag and place over the flour (use the directions for the creaming method). Print out the directions (I prefer to print 6 to a sheet on vellum paper), then attach the directions and a cookie cutter to the jar. Alternatively, you can mix the sugar into the flour mixture before pouring into the jars our pour 1 cup of sugar over the flour for a layered look (Be sure to include the tag for the alternative method in this case). Carefully check to be sure you have the correct tag for the jar.
Note that it can be difficult to find the canning jars unless you regularly purchase them at one particular grocery store. Even in that case, the stores tend to change their locations. I go to the same grocery chain all over town and have found the jars with the wine, with disposable containers, with miscellaneous glassware, and with the vegetables in the produce department. Instead of mindlessly wandering the store, approach the customer service desk with an image of the jars you will be using. Everyone has a different interpretation of the terms “canning jar,” “mason jar,” “Ball canning jars,” etc. I found the picture was the only way I got what I needed!


These are the directions if you plan to keep the flour mixture and sugar SEPARATE

These are the directions if you DO NOT plan to keep the flour and sugar separate.


Recent Comments