
Matt and I found two nine-foot strands of plain garland in our holiday decor this year, and we wanted to spruce them up a little bit before hanging them. It will probably come as no surprise that I am fairly minimalist in my decor – I like to add a few curves and color here and there, but I get uncomfortable when things start to look cluttered (yet somehow ignore the clutter in my office and my car, I will never understand it). My rule with DIY home decor is that there are only two reasons to DIY: If you cannot find exactly what you want or if you can make it for a lot less. As we already had garland, there was no reason to purchase more. So I went to the store in search of some simple decor. I settled on berries and pine cones. One addition I may consider adding next year is ornaments.
Materials
- Garland
- Berry Bunches from Craft Store
- Small Pine Cones
- Floral Wire
Tools
- Needle Nose Pliers with Wire Cutter


The first step is to purchase (if needed) berry stems and pine cones from a local craft store. We purchased ours from the Christmas Decor section at Hobby Lobby. You can find your own pine cones in the great outdoors, but you generally need to kill any bugs living in them, so I prefer to purchase them. Ours came as in sets of three, connected by wires.
The second step is to separate the berry stems into individual berry stems and the pine cones into individual pine cones (if necessary).


Next, twist two of each of the separated berry stems together. You will need quite a few of these for the full length of garland, so you might consider separating 4 berry stems at a time, and twisting the separate pieces together before attaching them.
The next step is to attach the floral wire to the pine cones. Take your pliers and use the wire cutting portion (close to the handle) to cut about a foot of floral wire. Take the wire and put it around the pine cone as close to the base as you can go. Then twist the wire together. I did this to about 6 pine cones at a time before attaching everything to the garland.


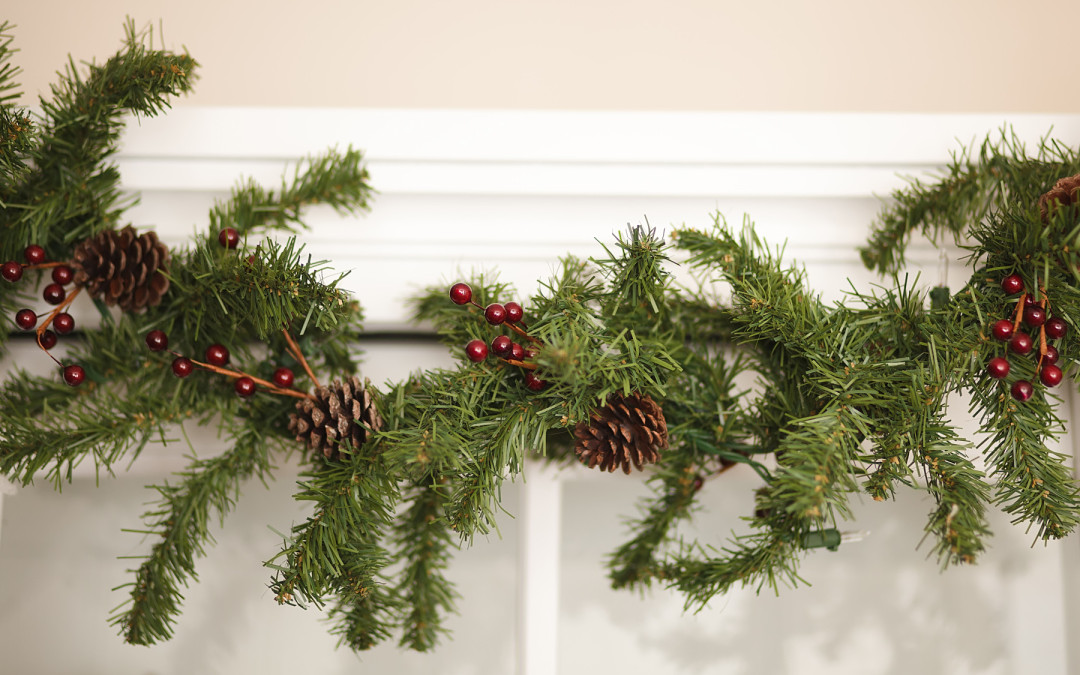
The final step is to attach everything to the garland. First, I wrapped the berry stems around the garland at one point. The wires in the stems make this easy. If your wires are not long enough, cut a portion of the floral wire and use it to attach the stems. Next, take your pine cone and place it over the base of the berry stems. wrap the wire around the garland and then back over the pine cone where the wire is. Wrap as many times as you can, then secure the wire by twisting it into place. Repeat this step down the garland, about every four to six inches. You may want to turn the garland as you go to keep the decorative pieces from being on just one side of the garland. You may also consider adding other decorative items. Ornaments such as glass or plastic balls can be a really nice touch. Make it yours!
And there you go. After you’ve completed the garland, hang it up!


Recent Comments