
One of our favorite activities during the Christmas season is doing an Advent study. One way we keep track of our study is through an advent calendar that we created. It is easy to make your own advent calendar, and you can customize it to fit your style.
Materials
- 25 Small Muslin Bags (3x4-inch drawstring style works well)
- Number Stamps or Number Stencils
- Stamp Ink or Fabric Paint
- Decorative Stamps (Optional)
- Small Objects for the Bags (Optional)
- 8½ x 11-inch Vellum Paper
- Branches for Hanging the Bags

The first step to make your advent calendar is to settle on a design. We went with small numerical stamps along the bottom left of each bag to designate each day. We stamped the numbers in red. You could do the same or go for a larger number on each bag done with a numerical stencil and fabric paint. The first step is to number each muslin bag in numerical order from 1 to 25. Once you have completed your numbering, you can decide on further decorations.
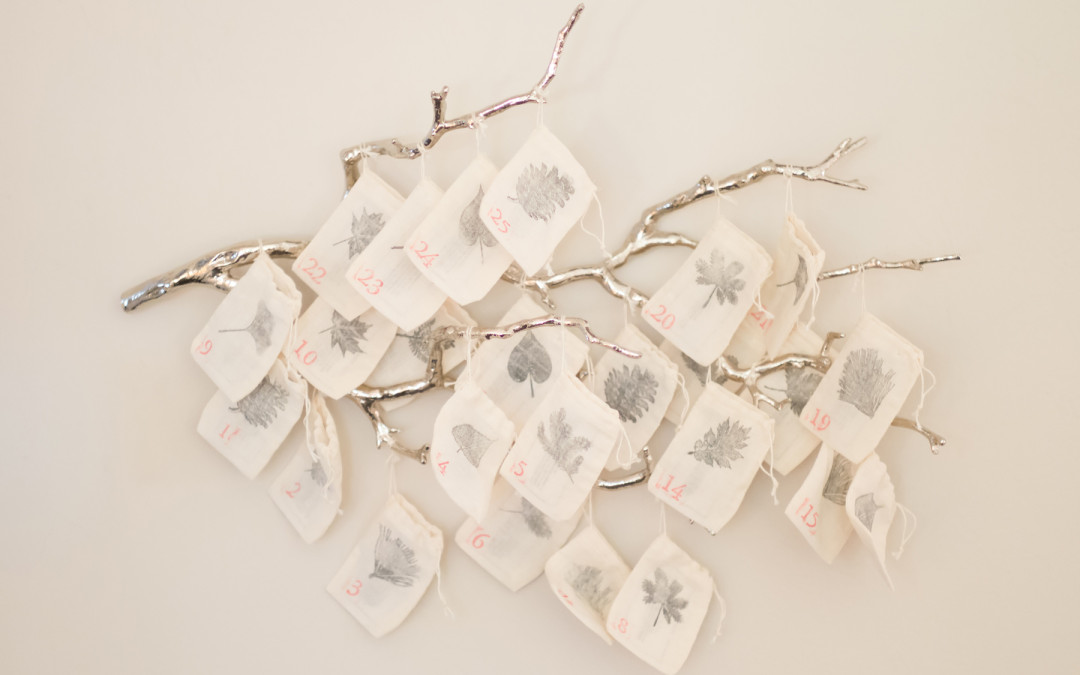
We took a set of 12 leaf stamps and stamped each bag with a leaf to go with the branch. You could use shell stamps for a coastal theme or birds or any other stamps of our choice. If you use the large number stencils, you may wish to skip any other decorations. Finish stamping each bag and let them dry. Some people choose to have a small object that goes in each bag. Any small object will do, although it might be nice if it corresponds with the verses from the reading that day. If you have children, you may let them choose what goes in each bag or you can choose something that they will enjoy.


Next you should write the verses you will be reading each day leading up to Christmas. We took verses from a few different studies. Some of my favorites are Clay Porr’s Advent Reflections and John Piper’s Good News of Great Joy as covered in our Celebrating Advent post. We formatted them to fit into a business card template in Microsoft Word. We then printed the verses out on 8½ x 11-inch Vellum Paper (you can buy this in the paper crafting section of most hobby or craft stores or in some office supply stores). After the verses were printed, we cut them with a paper cutter. The vellum looks lovely and holds up better than most other paper types. Ours have held up well for at least 3 years.
The final step is to hang your bags! We chose to hang ours on branches. We have hung them on different branches over the years. One option is to find a branch in your yard that can fit all the bags. Another option is to buy a branch you like from the floral department at a craft store (or even Target). You could hang them on a manzanita branch (I’ve purchased mine from Home Goods, but you can find them online). This year we are hanging them on a jewelry branch purchased from West Elm. You can even pin them to a cork board. Once you have decided on your preferred method, hang them up on the wall!

Recent Comments